By Kevin L. Vaughn
While traveling across North America, there are many concerns, administrative activities, and tasks to consider, plan, complete, and avoid in some cases. Many of those are obvious, like;
Do I have enough fuel?
What did we forget to pack?
What time will we arrive?
Five hours into your trip, you suddenly drive through an unforeseen chuckhole in the roadway, which results in a significant BANG. Naturally, you ask your traveling companion to unbuckle and quickly look around the coach for issues. If you are towing, it might prompt you to even make a rest stop to unlock and inspect the trailer.
That quick look might not unveil the impact of hitting the chuckhole. All types of things can come loose from an impact to the RV wheels/frame, including cabinetry, appliances, furniture, light fixtures, and personal goods. Today’s RVs are spiderwebbed with PEX (red and blue cross-linked polyethylene) water lines that are strung from the wet bay, tee off, and use an array of connections to your fixtures and appliances. On top of the multiple live water lines, you also have several feet of 2” PVC connections that are glued together at each bend and coupling, which channel your grey and black water to the tanks.
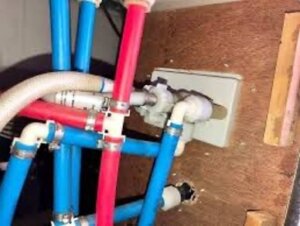
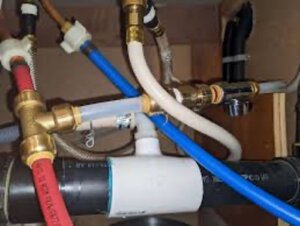
If any of the hot or cold PEX lines subsequently begin to leak, they will be under continuous pressure once the city water is connected or when the water pump is engaged, which will exacerbate any leak.
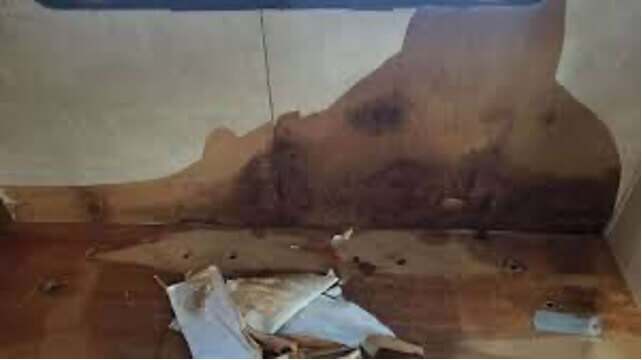
From that point, if you do not grasp a PEX water leak quickly, it will result in saturated wood components of the RV, potentially beyond repair. Eventually, if the water pump continues to run until the tank is empty, you risk burning up the water pump motor because it ran dry. Conversely, if you have a PVC pipe leak, you risk a hazmat issue, which would require a more comprehensive and expensive clean-up.
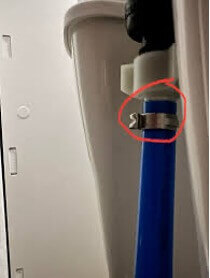
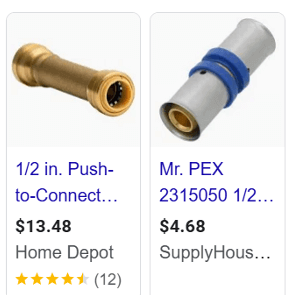
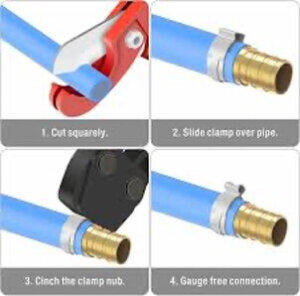
For any situation where a PEX hose (as shown above) is leaking at a fitting, I would recommend carrying a few small screw-on hose clamps as a stop gap measure or PEX repair kit/connection as a permanent fix (as shown above).
As a full-time RVer with over 80,000 miles of international travel, I have seen the toll that roads have taken on my Class A Diesel Pusher. I have learned from the past impacts to my wallet the cost of such risks, and as a result I attempt to put a deffensive plan into place.
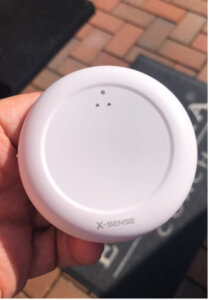
Last weekend, I purchased a new Amazon-listed product called “X-Sense Smart Water Leak Sensor”(see below) accompanied by seven remote sensors for about $100. Upon delivery, within 40 minutes, I installed the components (Base Station & 7 remote sensors) using just the instructions. The base station (shown below) needs an inverted power source to sustain monitoring. My RV had an unsed outlet in the cabinet above the windshield. Amazon offered an optional 2 & 3-year warranty plan.
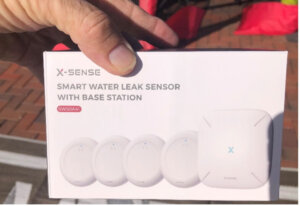
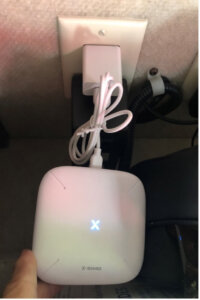
The base station serves as both the AC power connection and the audible alarm, if for any reason a sensor indicates the presence of water. Each sensor is battery operated, and pairs to the base station with a one touch button on the bottom of each sensor. Each sensor has water pickups on both the top and bottom of the sensor, to make it sense drips on it, or puddling.
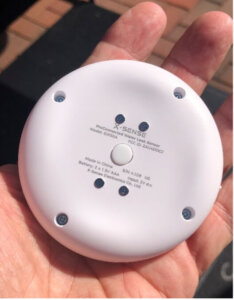
Let’s look at the GUI APP for the X-Sense product (shown below). You do not have to keep the APP running to get notifications by TEXT or Email. The APP shows both the status of each sensor and the battery condition. It allows you to customize the name and description of the location where each sensor is placed. No magic is needed to make it work. Below is page 1 of 2, displaying four sensors and the Base Station.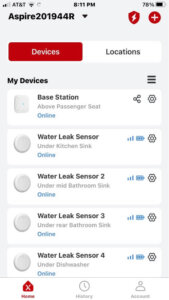
Finally, let us discuss what areas this new device could protect on your RV and why. The critical areas that are not readily detectable on my Class A are;
- Below the Kitchen Sink inside the cabinet
- The area below the Dishwasher inside the cabinet
- The open space UNDER the double-door refrigerator, with ice/water on the door
- Below the mid-bathroom Sink P-trap
- Below the rear Bathroom Sink P-trap
- The tray that the Washing Machine sits over
- The backside of the Wet Bay opening outside the coach
- Below the tanks (Fresh, Gray, Black) [See Below]
- #The entry point for the tubing that heats the flooring
I placed the sensors directly below the P-traps and faucets of the sinks. I had to remove the plastic grate below the refrigerator (2 screws) to place the sensor there. All but the refrigerator sensor can be viewed without any tools.
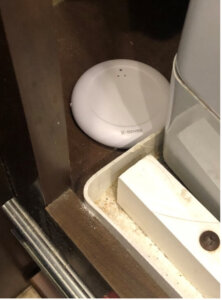
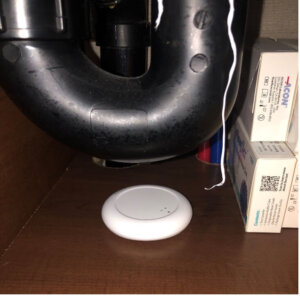
As for sensor placement adjacent to the three tanks, it would be problematic and next to impossible on my RV. There is no floor space under the Gray and Black tanks to place sensors, and there is limited floor space on one side of the 100-gallon fresh water tank, which is just wide enough for a sensor. However, if a sensor was placed there, it would not be visible and would take 30 minutes to visually inspect.
Just a reminder to keep an eye out under your RV or frame membrane for potential tank leakage during every pre-trip and periodic walk-around you perform. My last advice is to purchase and store a spare OEM water pump for an unfortunate moment during any upcoming trip when the water pump fails during dry camping. You will thank yourself after 15 minutes to change it.
Safe Travels and Jacks Up!

